Multiple styles to choose from
Tools needed for DIY lashes

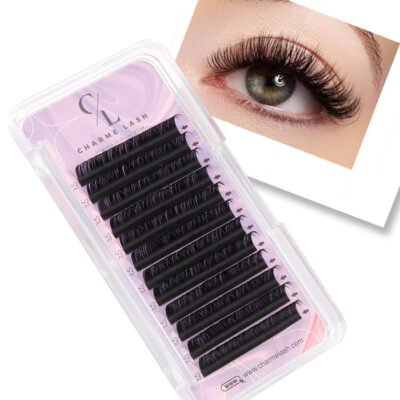
Individual lashes
Such as the classic lashes from CHARMELASHFusce sed leo ut justo pharetra consectetur et id lectus.
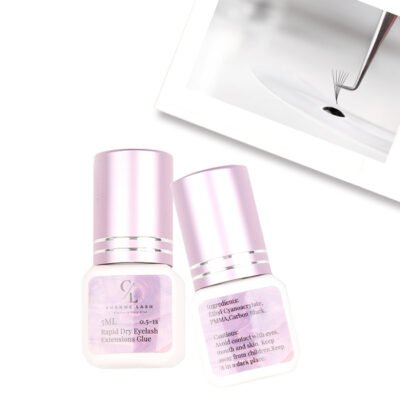
Lash Glue / Adhesive
Black looks best for makeup or creating a thick lash line, while white will dry out and is best for creating a natural look.
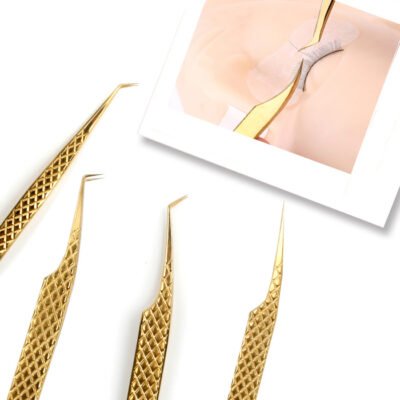
An applicator
Such as tweezers, to precisely apply the lash
Eyelash Map
Helps to position lashes and design lash styles.
DIY Eyelash Steps
1. Disinfection.
Before touching your face, sanitize your hands and tools you will be using to reduce the risk of infection.
2. Review the instructions.
The specific steps will vary for different brands.
3. Develop a location strategy.
Plan the position of false eyelashes. Place lashes according to lash length, desired makeup and eye shape.
4. Prepare the eyelash adhesive.
Use the applicator to lift your lashes, place a small drop on the surface of the glue tray, and then dip it into the base of the lashes.
5. Apply the first eyelash.
Attach the first lash to the center of your eyelid. After placing the first lash, use tweezers to brush your natural lashes toward each other to help them blend together.
6. Add more lashes.
Continue adding lashes at the inner and outer corners of the lash line until you achieve your desired look.
7. Final touches.
Once the glue has dried – which will take 10-15 minutes – to help blend and secure the lashes, you can use tweezers, your fingers, or an eyelash curler to gently squeeze the false lashes and natural lashes together.