Blog
LASH PLACEMENT AND DIRECTION
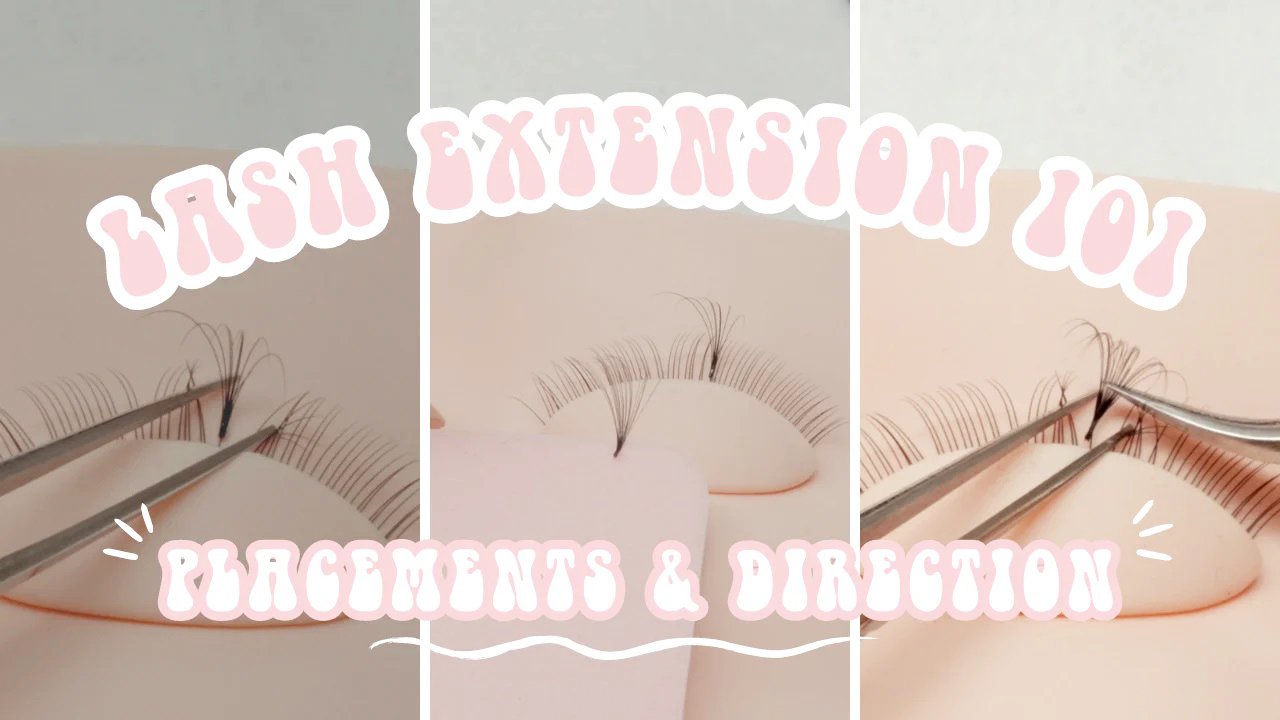
When it comes to lash extensions, it’s more than just dipping the lash in your adhesive and placing it on the natural lash. Placement and direction are one of the most important skills to master and requires a great amount of precision. It could either make or break your set! You must place every single lash with intention.
Placement
Retention relies heavily on your placement. Without proper placement, the extensions will fall out faster and you’ll get that message from your client complaining that their lashes fell off too fast! Consider all the things lash extensions go through – brushing, makeup, water pressure from the shower, sweat, oils, etc. The bond needs to be able to sustain these factors for as long as possible!
Always place the lash at a 90 degree angle from the eyelid.
Lash extensions should be placed at least 0.5-1mm away from the lash line. It should never touch your client’s skin.
Placing it too close or on the skin can cause discomfort and irritation for your client. It increases the risk of them getting an allergic reaction.
Placing it too far on the lash can weigh it down and cause breakage.
No matter what curl you use, there should be at least a 2mm bond between the extension and the natural lash to ensure maximum retention. No bases should be sticking up. Bases that stick up will fall out faster.
There are 3 different ways to place a lash extension. It’s up to every lash artist on what methods work best for them. You can place it from either the top, bottom, or side.
Top placement
Top placement is the most popular method. It is best used for lashes that grow downwards.
Bottom placement
Bottom placement is best used for lashes that are curly or upwards.
Side placement
Side placement is best used for lashes that grow straight.
proper distance to place your lash fans.
Direction
When it comes to direction, you need to be spot on. Lashes that are placed in a weird angle will be noticeable once the client opens their eyes. Make sure to always check in the mirror and looking directly at your client’s eyes once you’re finished with your set. Inner corners and outer corners can be tricky so pay closer attention as you don’t want the extensions facing too far out towards their nose and on the sides of their eyes.
Follow the shape of your client’s natural lash line.
Hold your extension for at least 1-2 seconds after placing it to keep it in the direction you want it to go.
Direct your clients head to wherever you need it to be to make it easier for you. You can tell them to tilt their head to the sides to help you get those outer corners!
If a natural lash grows to one side or is partly slanted, place the extension opposite from the direction the natural lash is growing to balance it out. If not, the extension will look slanted and it will throw off look of the set.
Fix any lashes that leave any noticeable gaps or are crisscrossed with other extensions.
Lastly, it’s important to remember to TAKE YOUR TIME! Never rush your sets, otherwise, they won’t turn out as pretty as you want them to be! Keeping the placement and direction consistent will keep the set looking clean and uniform. It also lessens the chance of clients picking their lashes! Implementing these techniques ensures that you are creating quality sets that suit and accentuate your client’s eye shapes.


I will immediately seize your rss as I can not to find your e-mail subscription link or e-newsletter service. Do you’ve any? Please let me recognise in order that I could subscribe. Thanks.
We apologize that we currently only have content updates on YouTube, Instagram, and Facebook. Please follow our account, @charmelashofficial, for more eyelash extension content, or contact us via WhatsApp at +86 133 4639 2968.♥