Blog
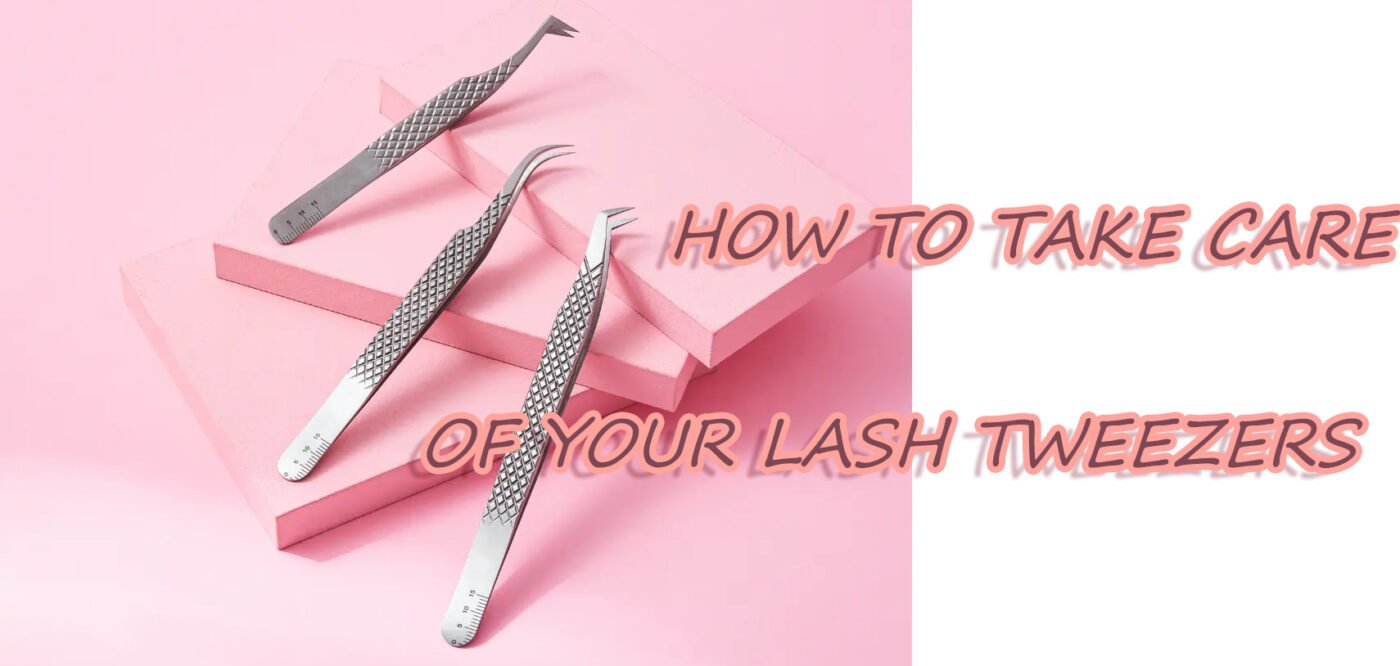
HOW TO TAKE CARE OF YOUR LASH TWEEZERS
Jul
Lash tweezers are your best buddies when it comes to applying eyelash extensions with precision. But, over time, they can get encrusted with lash glue. This buildup doesn’t just make your tweezers less effective—it can also mess with the hygiene and quality of your lash applications. Keeping them clean is super important to maintain their performance and longevity. In this article, we’ll dive into how to get that pesky lash glue off your tweezers, look at what lash glue is made of, and go through detailed cleaning methods along with tips for post-cleaning care and maintenance.
Understanding the Composition of Lash Glue
Lash glue is made to be strong, quick-drying, and long-lasting, so the extensions stay put for as long as possible. Here are the key components of lash gavlue.
Cyanoacrylate: This is the main adhesive ingredient, known for its strong bonding and quick drying. It needs solvents that can break down its strong bonds without harming your tweezers.
Carbon Black: Added for a dark, natural-looking color. Can leave stains even though it doesn’t affect adhesion.
Additives and Stabilizers: These improve the glue’s performance and shelf life, helping it resist changes in humidity and temperature. They can react differently to various cleaners, so it’s important to choose the right cleaning solution.
By understanding these components, you’ll know exactly how to remove lash glue and how to clean lash tweezers.
Step-by-Step Cleaning Methods
Keeping your lash extension tweezers clean is a must, and there are a few ways to do it, like soaking them in a cleaning solution or scrubbing them with a brush or cloth.
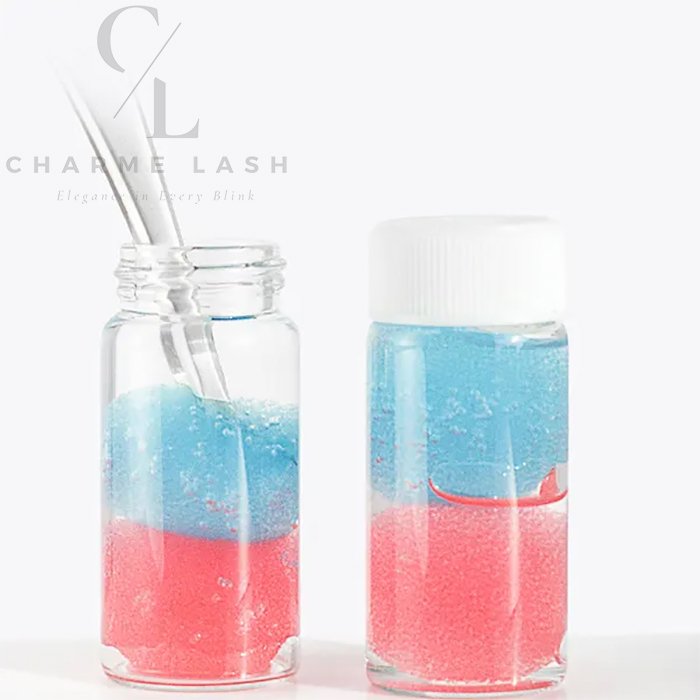
Method 1: Soaking in a Cleaning Solution
Choosing the right cleaning solution is key to getting that lash glue off. Acetone-based solutions work well because they dissolve cyanoacrylate quickly. But, professional-grade eyelash adhesive removers are designed specifically for this job and are usually gentler on your tools.
Prepare the Solution: Pour your chosen cleaning solution into a small glass or ceramic dish. Before soaking, wipe the tweezers with a dry cloth to remove any loose debris.
Soak the Tweezers: Dip just the tips of the tweezers into the solution to avoid damaging the handles or other parts.
Timing: Let the tweezers soak for about 5-10 minutes. This should be enough time for the solution to soften the glue. After soaking, rinse the tweezers with lukewarm water to remove any residue from the cleaning solution.
With these steps, you’ll have your tweezers looking brand new in no time, ready to tackle more lash magic!
Method 2: Mechanical Cleaning with a Brush or Cloth
Select Suitable Cleaning Tools
– Brush: Use a small, firm brush like a toothbrush or a dedicated lash tweezer brush. Make sure the bristles are stiff enough to remove glue but gentle enough not to damage your tweezers. Dip the brush into the cleaning solution or apply a few drops directly onto the bristles.
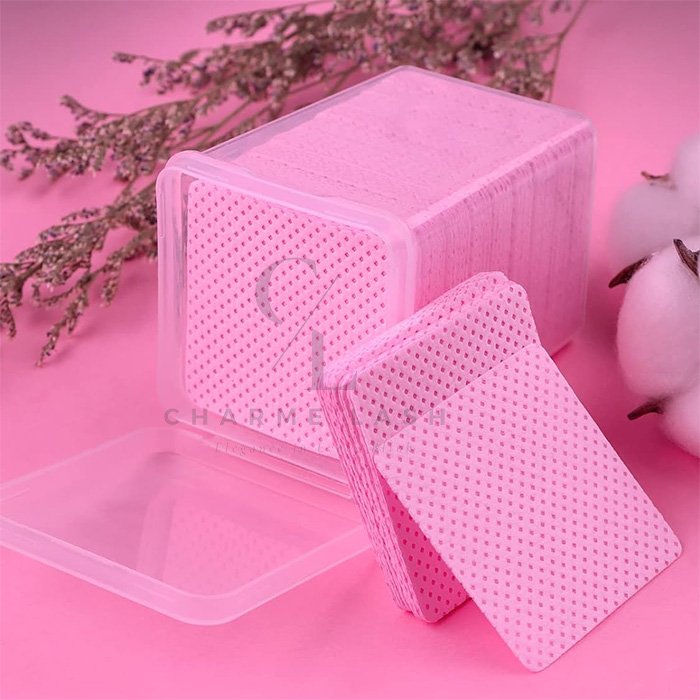
– Cloth: A microfiber cloth or lint-free wipe works best for wiping away softened glue.
Scrubbing: After soaking, check the tweezers to see how much glue is left. Gently scrub the glue residue with the brush. Hold the tweezers firmly under a bright light and use small, circular motions to dislodge the glue. Focus on areas with the most buildup.
Wiping: For smaller residues, wrap the cloth around the tweezers and apply a bit of the cleaning solution directly to the glue spots. Wipe with firm, gentle pressure.
Repetition: For stubborn glue, you might need to repeat the soaking and scrubbing process a few times until the tweezers are squeaky clean. Rinse the tweezers under lukewarm water to remove any remaining solution and residue.
With these steps, your tweezers will be sparkling clean and ready to work their magic on those lashes!
Post-Cleaning Care and Maintenance
Taking care of your lash tweezers after cleaning is key to keeping them in top-notch condition and preventing future glue buildup.
Drying the Tweezers Properly
Pat Dry: After rinsing, gently pat the tweezers dry with a clean, lint-free tissue. Avoid rubbing, as it can scratch or damage them.
Air Dry: Let the tweezers air dry completely on a clean, dry surface. Make sure they’re fully dry before storing to avoid rust and other damage.
How to Store the Tweezers
Clean Storage Case: Keep your tweezers in a clean, dry case to protect them from dust, moisture, and contaminants.
Regular Maintenance: After each use, wipe the tweezers with a dry cloth to remove any leftover glue before it hardens. Schedule regular deep cleaning sessions to keep them in good shape.
Additional Tips for Maintenance
– Regularly check your tweezers for any signs of damage. Replace them if they become bent.
– Stay away from harsh chemicals that can damage the tweezers or leave harmful residues.
– Invest in high-quality cleaning solutions and tools specifically designed for eyelash extension tools.
Conclusion
Keeping your lash tweezers clean is a must for nailing the eyelash extensions application. Knowing what’s in lash glue and using the right cleaning methods, like soaking in a cleaning solution and scrubbing with a brush, can really boost the longevity and performance of your tweezers. By sticking to a consistent post-cleaning routine—like proper drying and smart storage—you can prevent future glue buildup. Follow these steps, and your lash tweezers will always be ready to work their magic, giving you and your clients the best results every time!