Blog
Patch Test for Lash Extensions: A Comprehensive Guide
Mar
As a lash stylist, it’s essential to prioritize your client’s safety and comfort during the lash extension application process. Allergic reactions can be a significant risk, and knowing how to perform a patch test is crucial to minimize this risk.
In this article, we are gonna give you the low-down on patch tests. You’ll find a comprehensive, easy-to-follow guide on how to do them, and get answers to some common questions. It’s great knowledge for beginner lash stylists to ensure a safe and comfortable experience for their clients.
Conducting a Patch Test for Eyelash Extensions: Step-by-Step Guide

1. Plan in Advance
To ensure your client’s safety and avoid any allergic reactions, it’s important to arrange a patch test at least 24 hours before the actual appointment. This gives enough time for the adhesive to cure, which usually takes about 4 hours.
In fact, you can utilize this appointment as a comprehensive consultation – an opportunity to understand your client’s preferred style and develop a customized lash map for them. Furthermore, you can have your client complete a consent form and educate them on proper aftercare techniques!
2. The Extension Application Method
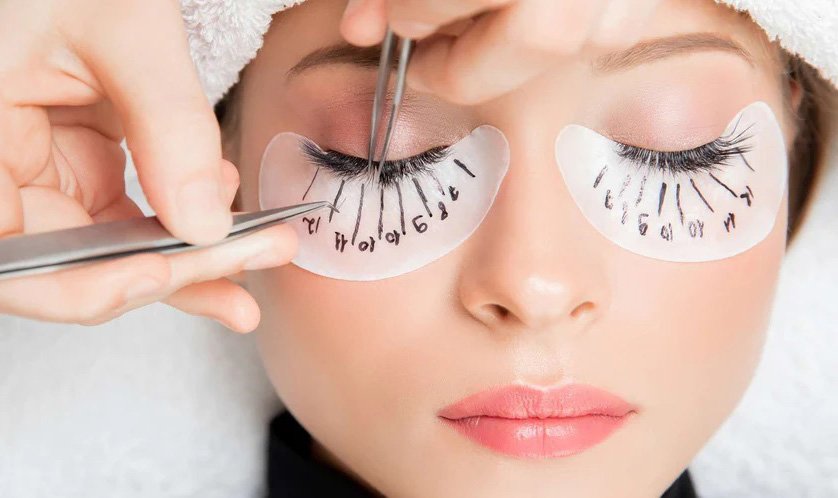
When conducting a patch test, we suggest a straightforward approach of applying around 10 to 12 lash extensions to the outer corners of your client’s eyes. This approach is the most reliable since it mimics the exposure of a full set of lash extensions, although with reduced volume.
By applying only 10 to 12 extensions to the outer corners of your client’s eyes, you minimize the risk of potential reactions.
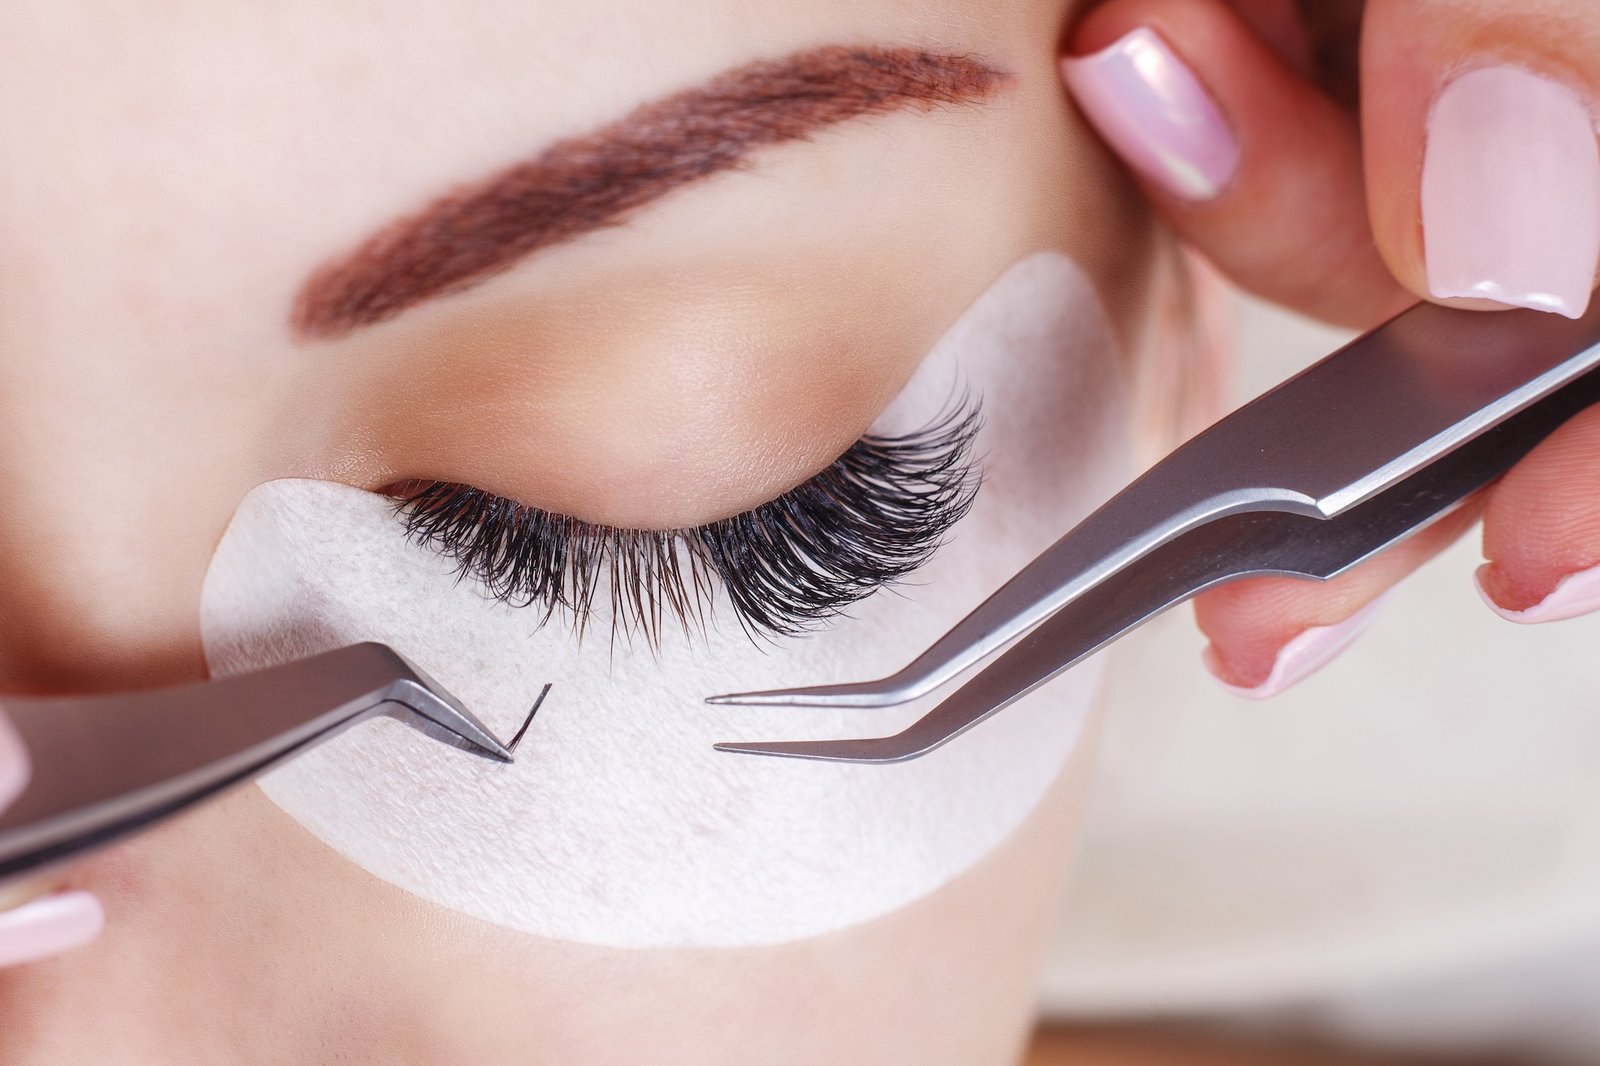
3. Adhesive on Lashes
Instead of applying a dab of adhesive on the outer corner lashes, it is recommend to use a minimal number of extensions, around 10 to 12, for the patch test. This approach is more reliable as it replicates the exposure of a full set of lash extensions, with reduced volume.
Additionally, since the extensions are located far from the tear duct, it becomes easier to manage any potential reactions that may occur during the patch test.
Also, keep in mind that this method leaves some glue on the client’s lashes beforehand, which may not be the best for their lash health. However, it could work in a pinch when there’s no time to apply a few extensions before the patch test.
4. Adhesive on Skin
Another way some lash artists do a patch test is by applying a tiny drop of adhesive to the client’s skin, usually behind the ear where it can’t be seen. However, I wouldn’t recommend this method because it’s not as dependable as other techniques.
Remember that just because a client’s skin can tolerate adhesive applied to one part of their body, it doesn’t necessarily mean it will be safe for the delicate skin around their eyes. It’s important to consider that eyelid skin is thinner and more sensitive compared to other areas, and may react differently to the adhesive.
5. Testing Multiple Adhesives
If your client has sensitive skin or eyes, it’s important to test multiple adhesives. You can try dye-free or low-cyanoacrylate options if available. Test one adhesive on one eye and a different one on the other eye, and remember to keep track of which adhesive is which.
When a person experiences irritation from lash extensions, the symptoms usually appear immediately and can be caused by either the fumes from the adhesive or direct contact of the adhesive with the skin. Fortunately, removing the lashes and adhesive can help alleviate the irritation.
Additionally, it’s crucial to consider the reaction’s location, especially if it’s primarily under the eyes. Sometimes, clients may not react to the lash extension adhesive but instead to the glue used in under-eye patches or medical tape during the process. Therefore, it’s important to assess all possible factors that could have caused the reaction.
6. Managing a Reaction
You should always instruct your clients to return to the salon for immediate removal in case of any adverse reactions to the adhesive. This is important to prevent further discomfort or potential damage to their natural lashes. Additionally, make sure to provide aftercare instructions and advise them to consult with a medical professional if the symptoms persist or worsen.
Reactions from a patch test are usually not severe, and you can advise your client to use a cold compress or eye drops to relieve any discomfort until the symptoms disappear. However, if the reaction is severe or persists, it may be necessary for them to seek medical attention.
Identifying an Eyelash Extension Patch Test Reaction
In terms of reactions to eyelash extensions, there are typically two types: allergies (also known as allergic contact dermatitis) and irritations (also known as irritant contact dermatitis).
It can be hard to tell the difference between an allergic and an irritant reaction. Both can cause red and watery eyes, as well as redness, swelling, or flakiness of the surrounding skin. Your client may feel uncomfortable with symptoms like stinging, itchiness, or pain.
An allergic reaction is more severe and often indicates that your client cannot have lash extensions in the future. This type of reaction can occur immediately or several hours after the application. The most notable sign of an allergic reaction is swelling of the eyelid and the skin beneath the eye.
Conclusion:
To sum it up, doing a patch test before eyelash extension application is crucial to guarantee the well-being and satisfaction of your clients. By adhering to the proper guidelines, lash technicians can decrease the likelihood of negative responses and improve the quality of their services.
Timing the patch test correctly and distinguishing between allergic reactions and irritations are crucial factors. Don’t forget to keep accurate records and prioritize your clients’ safety to deliver outstanding service in the field of eyelash extensions.